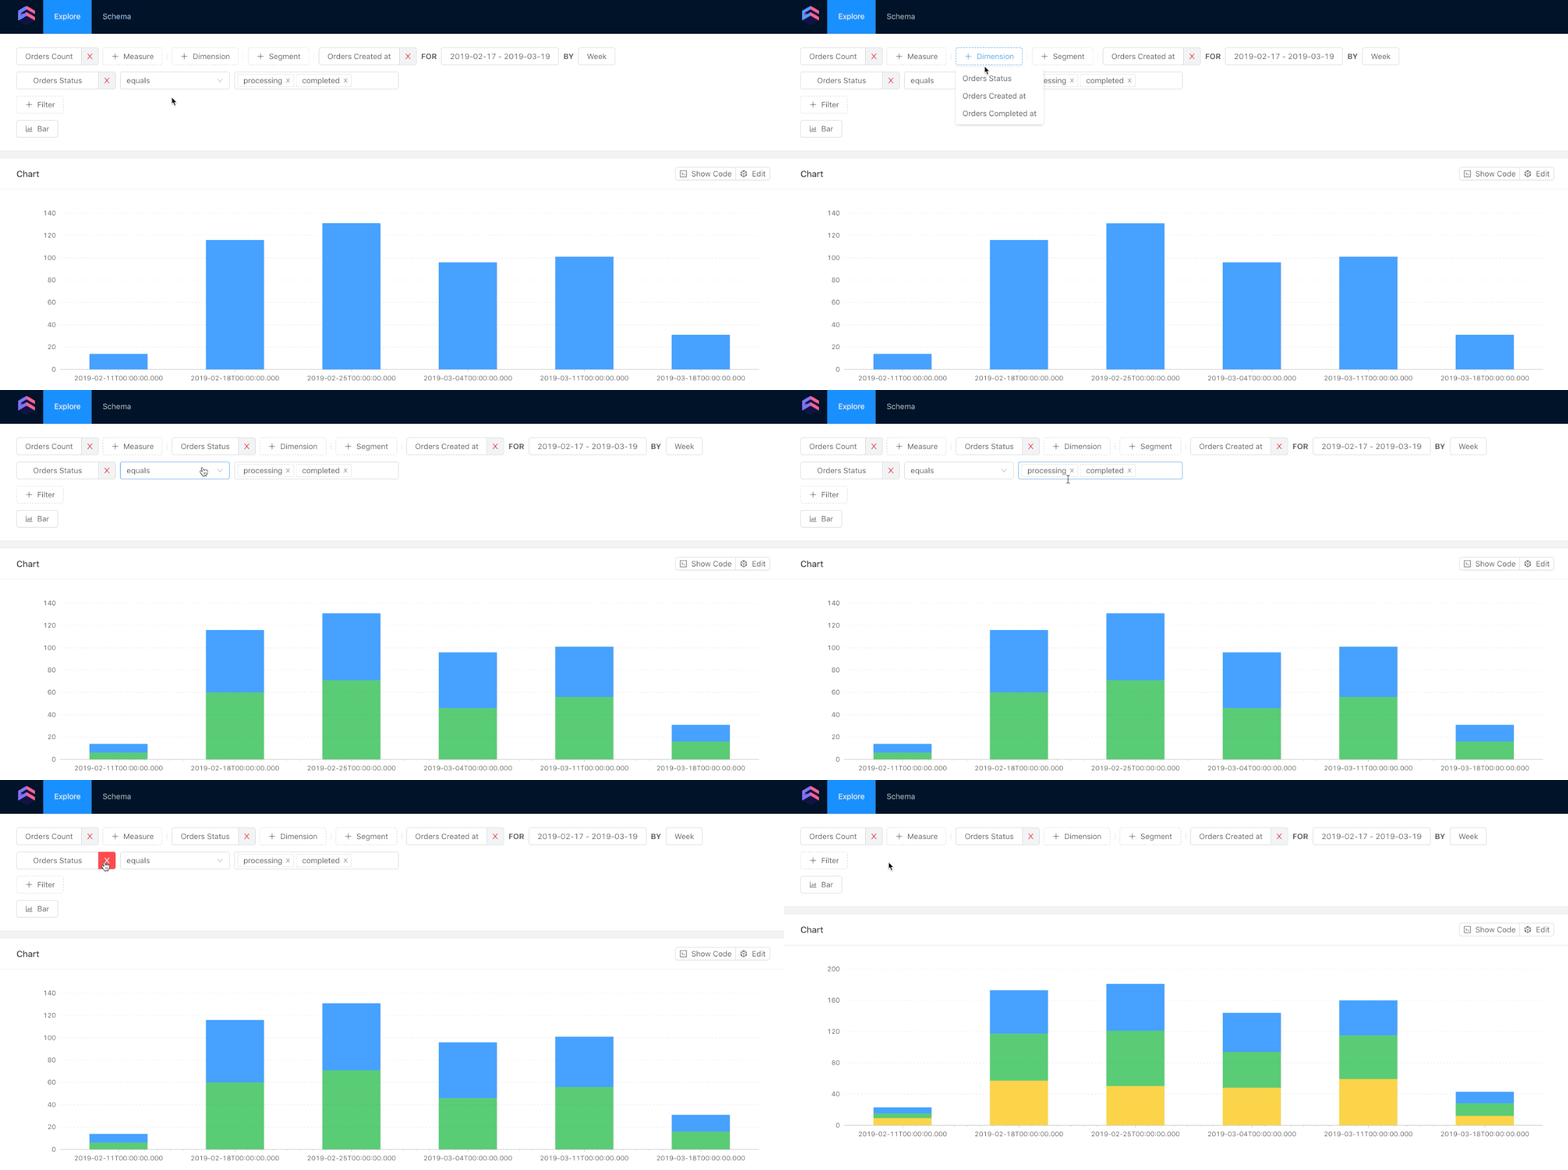
Starting from version 0.4, the React Cube client comes with the <QueryBuilder /> component. It is designed to help developers build interactive analytics query builders. The <QueryBuilder /> abstracts state management and API calls to Cube Backend. It uses render prop and doesn’t render anything itself, but calls the render function instead. This way it gives maximum flexibility to building a custom-tailored UI with a minimal API.
The example below shows the <QueryBuilder /> component in action with Ant Design UI framework elements.
The above example is from Cube Playground. You can check its source code on Github.
This tutorial walks through building the much simpler version of the query builder. But it covers all the basics you need to build one of your own.
Setup a Demo Backend
If you already have Cube Backend up and running you can skip this step
First, let’s install Cube CLI and create a new application with a Postgres database.
We host a dump with sample data for tutorials. It is a simple “E-commerce database” with orders, products, product categories, and users tables.
Once you have data in your database, change the content of the .env file inside your Cube directory to the following. It sets the credentials to access the database, as well as a secret to generate auth tokens.
Now that we have everything configured, the last step is to generate a Cube.js schema based on some of our tables and start the dev server.
If you open http://localhost:4000 in your browser you will access Cube.js Playground. It is a development environment, which generates the Cube.js schema, creates scaffolding for charts, and more. It has its own query builder, which lets you generate charts with different charting libraries.
Now, let’s move on to building our own query building.
Building a Query Builder
The <QueryBuilder /> component uses the render props technique. It acts as a data provider by managing the state and API layer, and calls render props to let developers implement their render logic.
Besides render, the only required prop is cubejsApi. It expects an instance of your cube.js API client returned by the cubejs method.
Here you can find a detailed reference of the <QueryBuilder /> component.
The properties of queryBuilder can be split into categories based on what element they are referred to. To render and update measures, you need to use measures, availableMeasures, and updateMeasures.
measures is an array of already selected measures. It is usually empty in the beginning (unless you passed a default query prop). availableMeasures is an array of all measures loaded via API from your Cube data schema. Both measures and availableMeasures are arrays of objects with name, title, shortTitle, and type keys. name is used as an ID. title could be used as a human-readable name, and shortTitle is only the measure’s title without the Cube’s title.
updateMeasures is an object with three functions: add, remove, and update. It is used to control the state of the query builder related to measures.
Now, using these properties, we can render a UI to manage measures and render a simple line chart, which will dynamically change the content based on the state of the query builder.
The code above is enough to render a simple query builder with a measure select. Here’s how it looks in the CodeSandbox:
Similar to measures, availableMeasures, and updateMeasures, there are properties to render and manage dimensions, segments, time, filters, and chart types. You can find the full list of properties in the documentation.
Also, it is worth checking the source code of a more complicated query builder from Cube Playground. You can find it on Github here.


